Kendaks R&D guide

Creating a CI/CD Pipeline (Build, Test, Deploy)

Category: DevOps

Scenario: Dev teams want consistent releases with quality gates. Example: 'Kendaks Apps' uses GitHub Actions to deploy web apps and APIs across dev/test/prod.

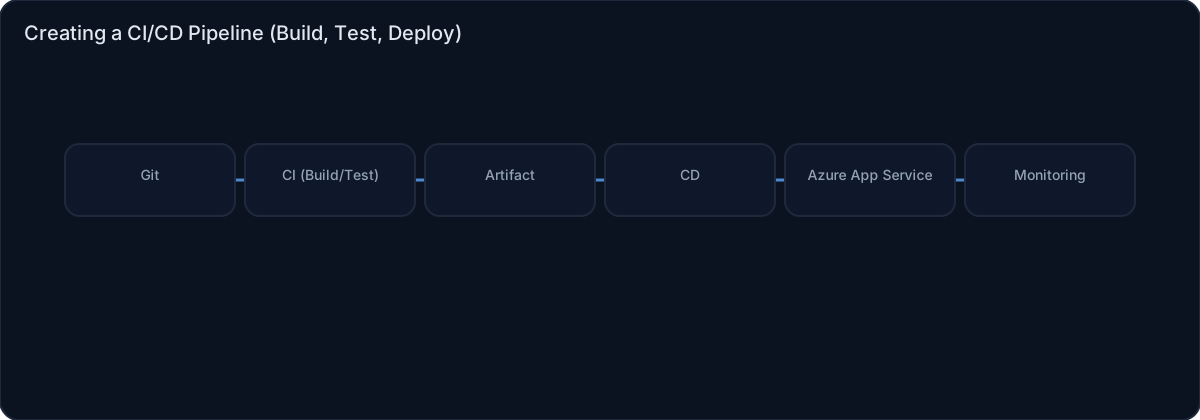
Architecture diagram

High-level view of the main components and data/control flows.

Architecture diagram

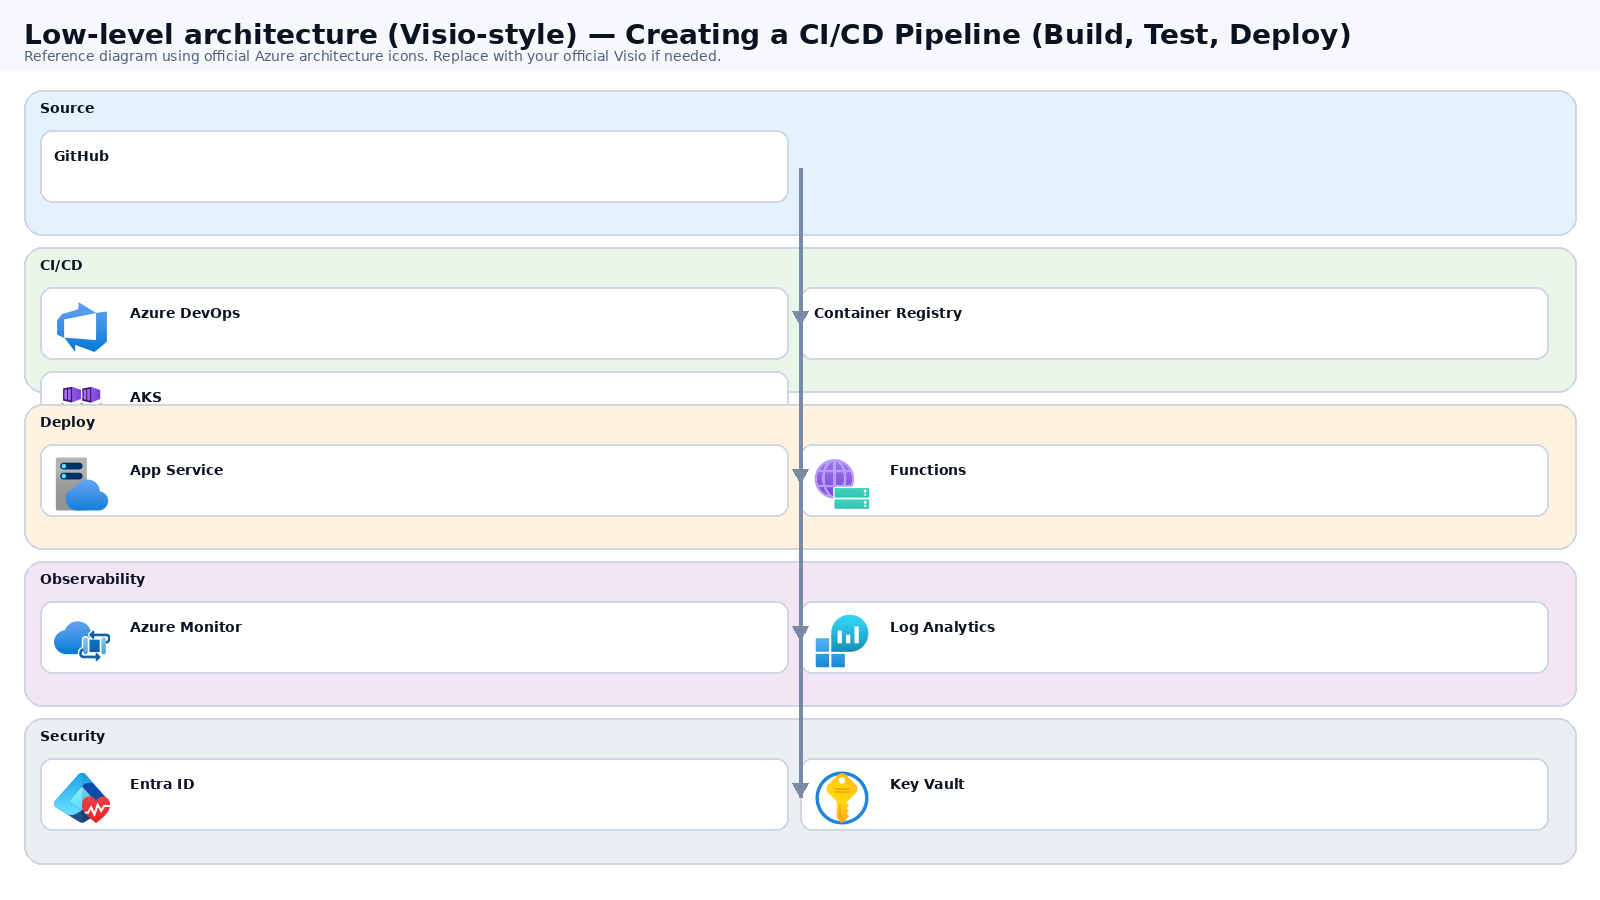
Low-level architecture diagram (Visio-style)

Implementation view (networking, security, ops). Click to open full size.

Low-level architecture diagram

Low-level architecture details

(No low-level text provided.)

Step-by-step implementation

Step 1/6
Plan

Define environments and release strategy
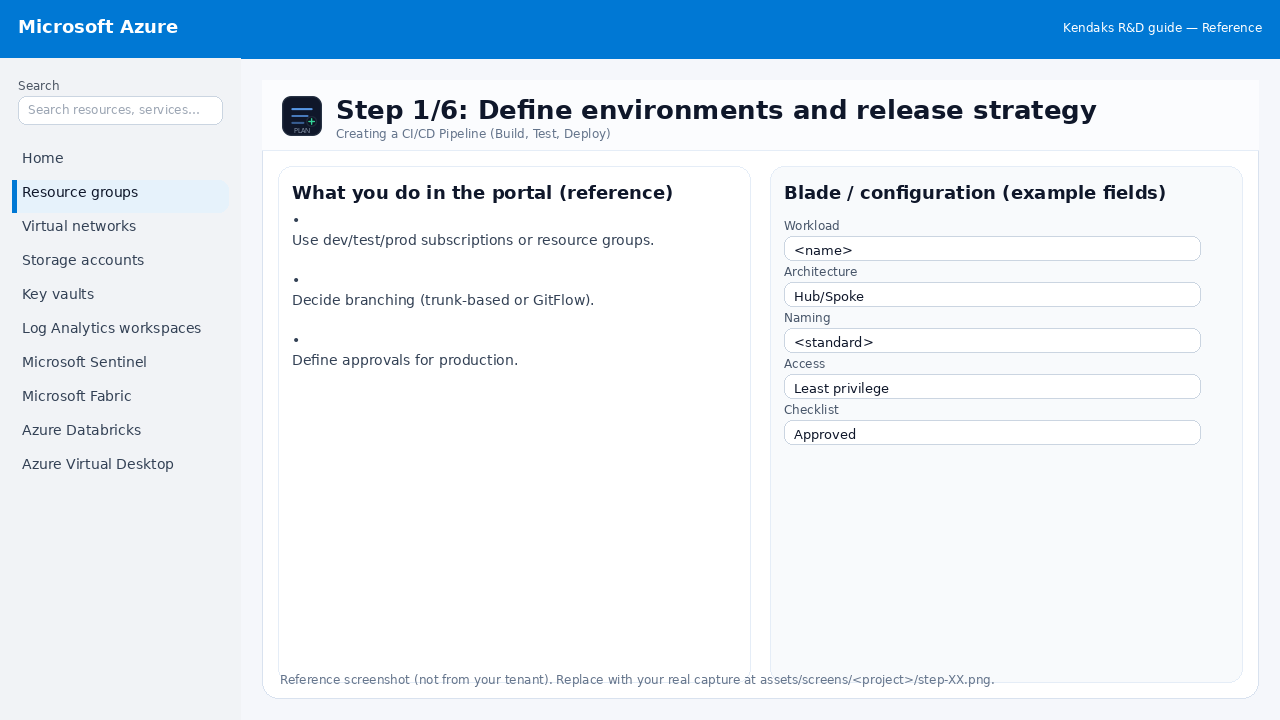
Reference screenshot for Creating a CI/CD Pipeline (Build, Test, Deploy) step 1
Reference portal screenshot (click to zoom). Replace with your tenant capture if needed.
  • Use dev/test/prod subscriptions or resource groups.
  • Decide branching (trunk-based or GitFlow).
  • Define approvals for production.
Validation checklist
  • Stakeholders have signed off the scope, SLAs, and data/security requirements.
  • You have documented naming standards, environments, and ownership (RACI).
Zoomed screenshot
Step 2/6
CI/CD

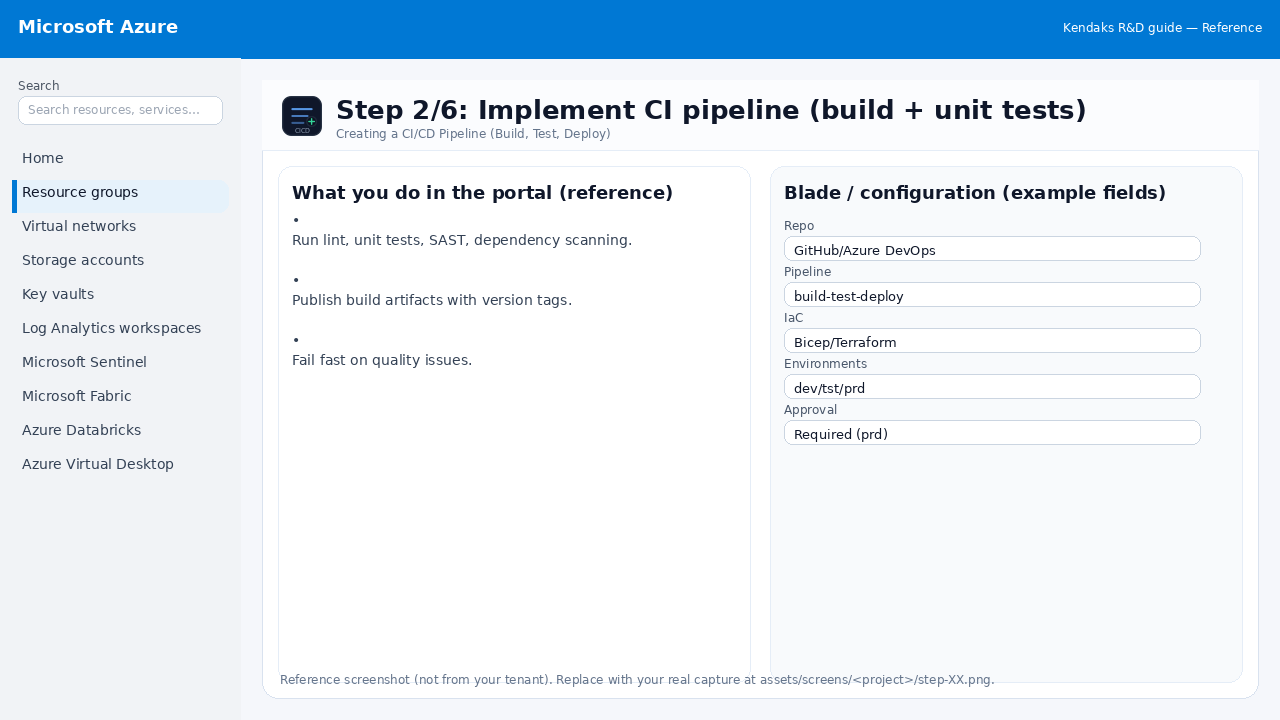
Implement CI pipeline (build + unit tests)

Reference screenshot for Creating a CI/CD Pipeline (Build, Test, Deploy) step 2
Reference portal screenshot (click to zoom). Replace with your tenant capture if needed.
  • Run lint, unit tests, SAST, dependency scanning.
  • Publish build artifacts with version tags.
  • Fail fast on quality issues.
Example code / notes
# GitHub Actions (snippet)
- name: Build
  run: npm ci && npm test
- name: Upload artifact
  uses: actions/upload-artifact@v4
  with: { name: drop, path: dist }
Validation checklist
  • Pipeline runs succeed (build/test/package) and artifacts are versioned.
  • Deploy stages require approvals for production and have rollback strategy.
Zoomed screenshot
Step 3/6
Test

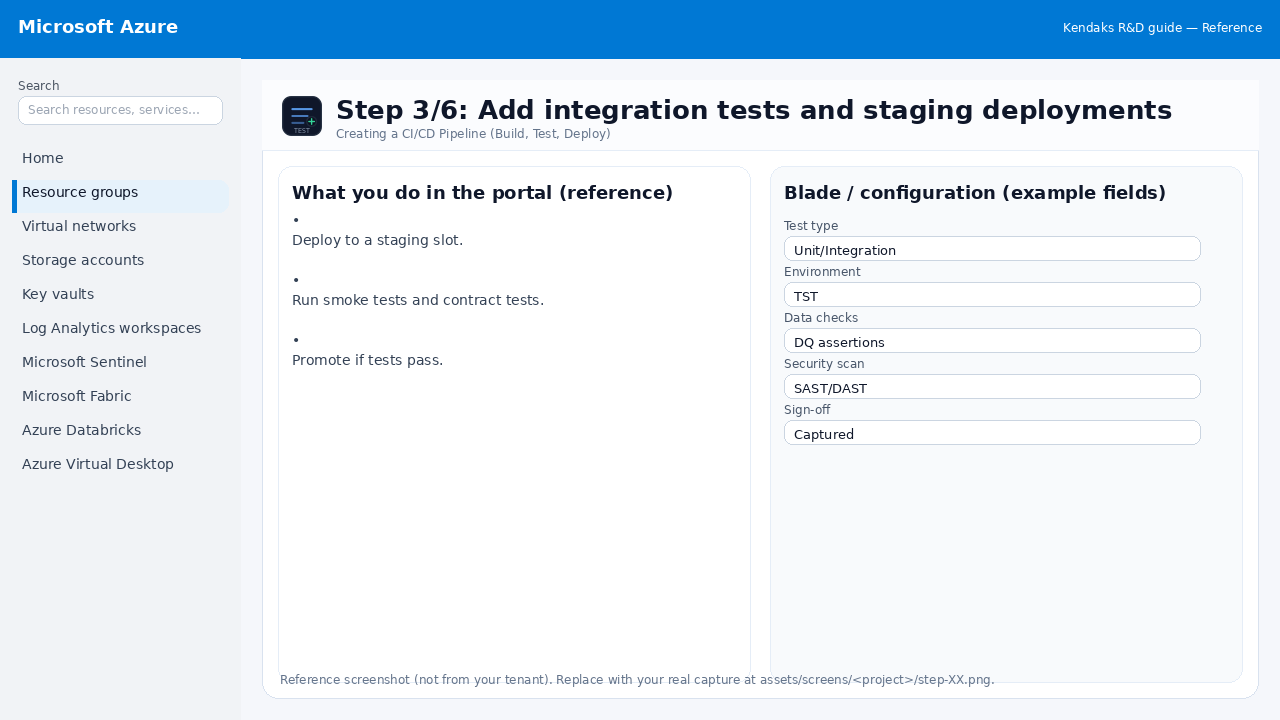
Add integration tests and staging deployments

Reference screenshot for Creating a CI/CD Pipeline (Build, Test, Deploy) step 3
Reference portal screenshot (click to zoom). Replace with your tenant capture if needed.
  • Deploy to a staging slot.
  • Run smoke tests and contract tests.
  • Promote if tests pass.
Validation checklist
  • UAT completed with representative users and scenarios.
  • Performance meets baseline; issues tracked and remediated.
Zoomed screenshot
Step 4/6
Deploy

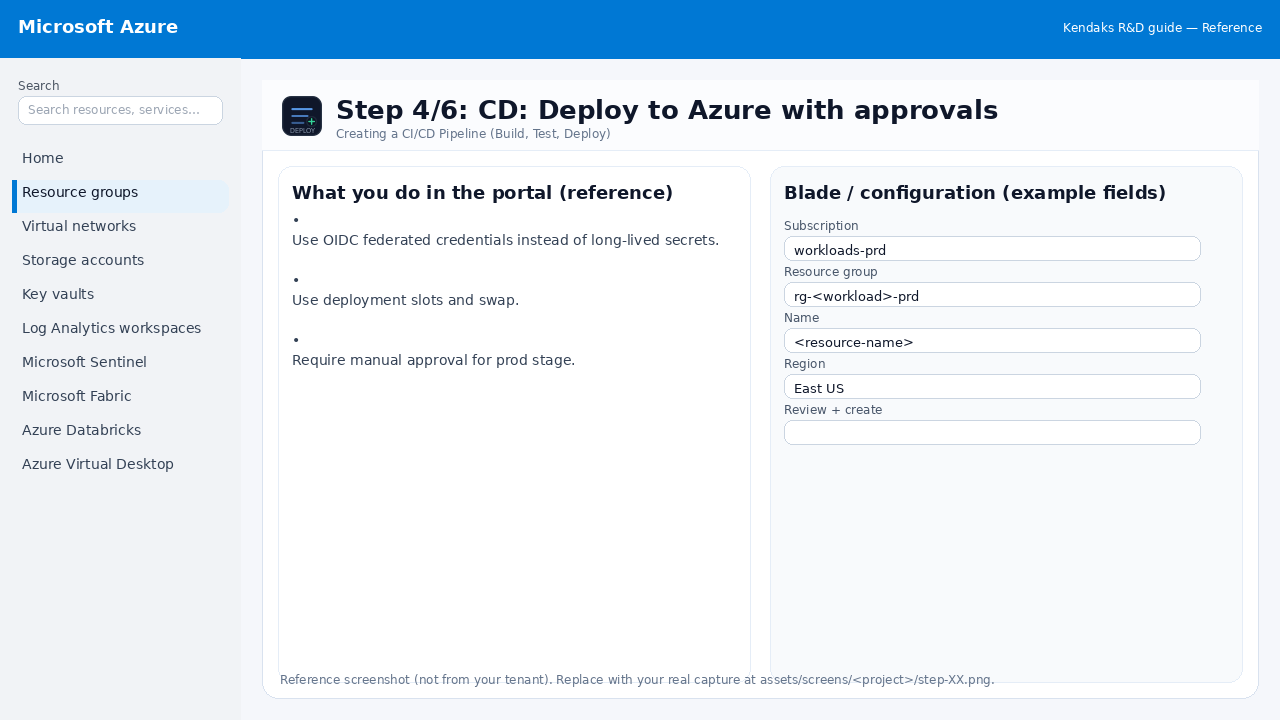
CD: Deploy to Azure with approvals

Reference screenshot for Creating a CI/CD Pipeline (Build, Test, Deploy) step 4
Reference portal screenshot (click to zoom). Replace with your tenant capture if needed.
  • Use OIDC federated credentials instead of long-lived secrets.
  • Use deployment slots and swap.
  • Require manual approval for prod stage.
Validation checklist
  • Deployment completed; smoke tests passed; rollback plan confirmed.
Zoomed screenshot
Step 5/6
Monitor

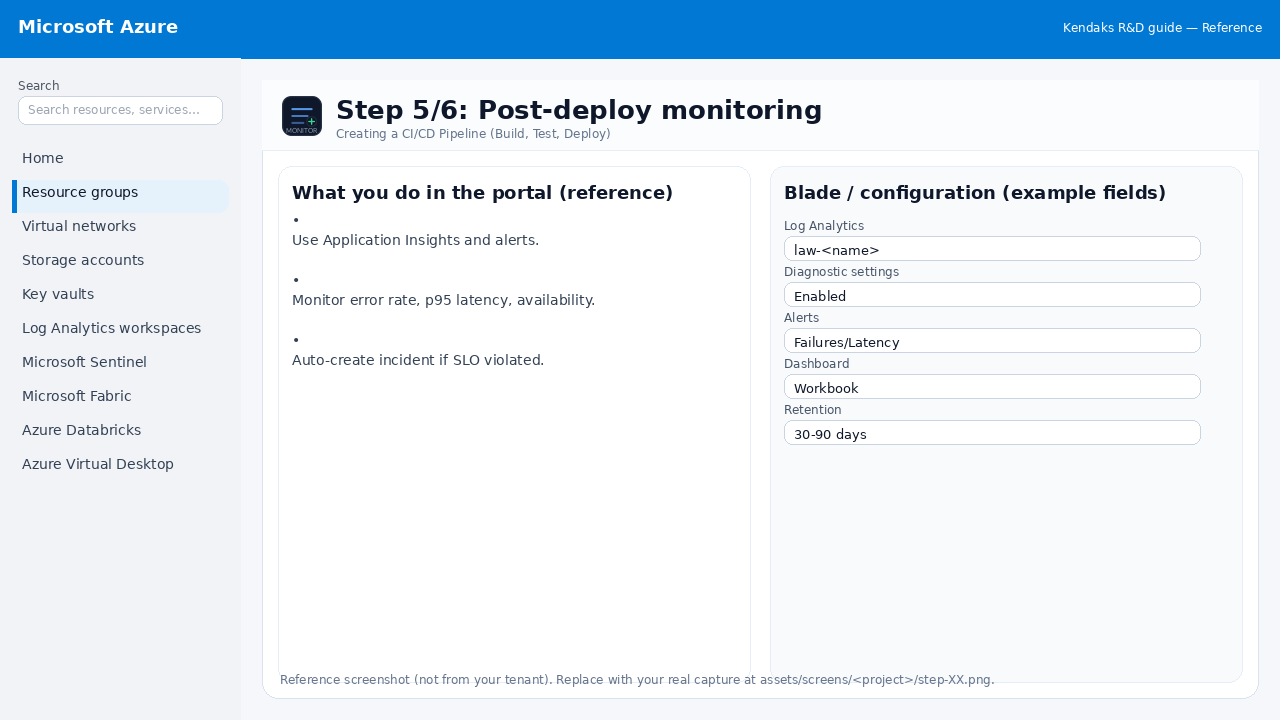
Post-deploy monitoring

Reference screenshot for Creating a CI/CD Pipeline (Build, Test, Deploy) step 5
Reference portal screenshot (click to zoom). Replace with your tenant capture if needed.
  • Use Application Insights and alerts.
  • Monitor error rate, p95 latency, availability.
  • Auto-create incident if SLO violated.
Validation checklist
  • Logs and metrics are flowing (check Log Analytics / Monitor).
  • Alerts trigger correctly (test alert path to email/Teams/ITSM).
Zoomed screenshot
Step 6/6
DR

Rollback strategy

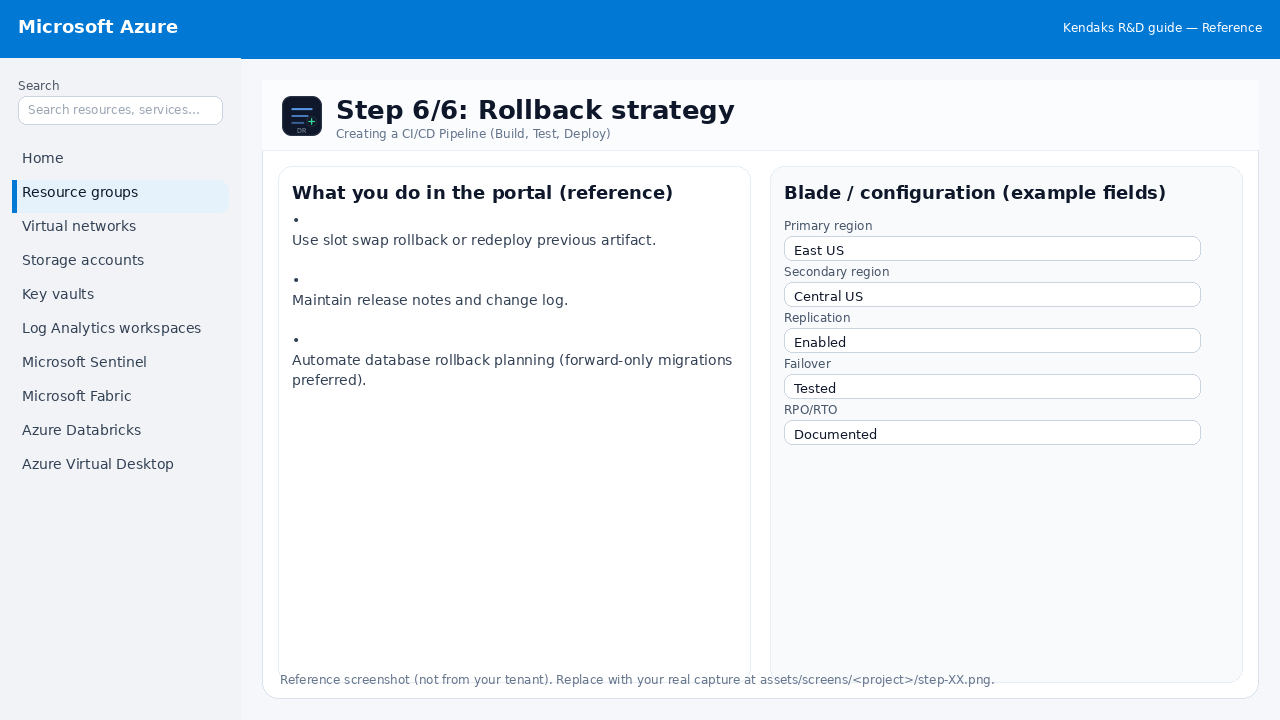
Reference screenshot for Creating a CI/CD Pipeline (Build, Test, Deploy) step 6
Reference portal screenshot (click to zoom). Replace with your tenant capture if needed.
  • Use slot swap rollback or redeploy previous artifact.
  • Maintain release notes and change log.
  • Automate database rollback planning (forward-only migrations preferred).
Validation checklist
  • Failover procedure is documented and tested (tabletop + technical drill).
  • RPO/RTO measured and meets requirements.
Zoomed screenshot

Video tutorials

References